STATIC WEBSITE HOSTING AWS S3 and CLOUDFRONT

Hey folks,
"Unlock the Power of Speed and Scalability: Harnessing the Dynamic Duo of S3 and CloudFront for Static Web Hosting! ⚡️🌐
In this blog post, I'll walk you through the incredible world of static web hosting using Amazon S3 and CloudFront, where speed and scalability reign supreme.
Gone are the days of sluggish loading times and missed opportunities. With the seamless integration of S3 as a storage solution and CloudFront as a content delivery network, your website will soar to new heights, captivating users around the globe.
Get ready to discover the secrets behind lightning-fast page loads, rock-solid reliability, and global content delivery at the speed of thought. Say goodbye to downtime nightmares and hello to a future-proof web infrastructure.
Let's first create a code pipeline to deploy our website in s3.

1) Setting up the S3 bucket
First, we need to create an S3 bucket in the AWS Management Console and configure it for static website hosting.
During the setup, specify the bucket name as your domain name
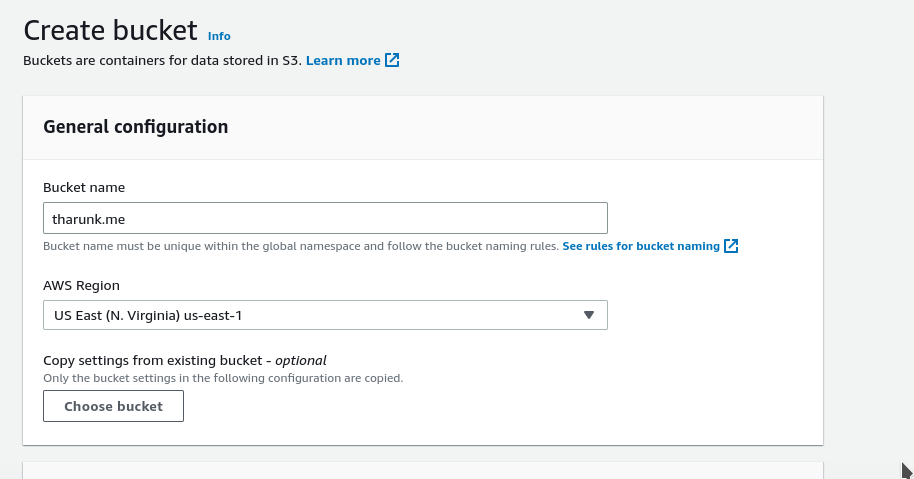
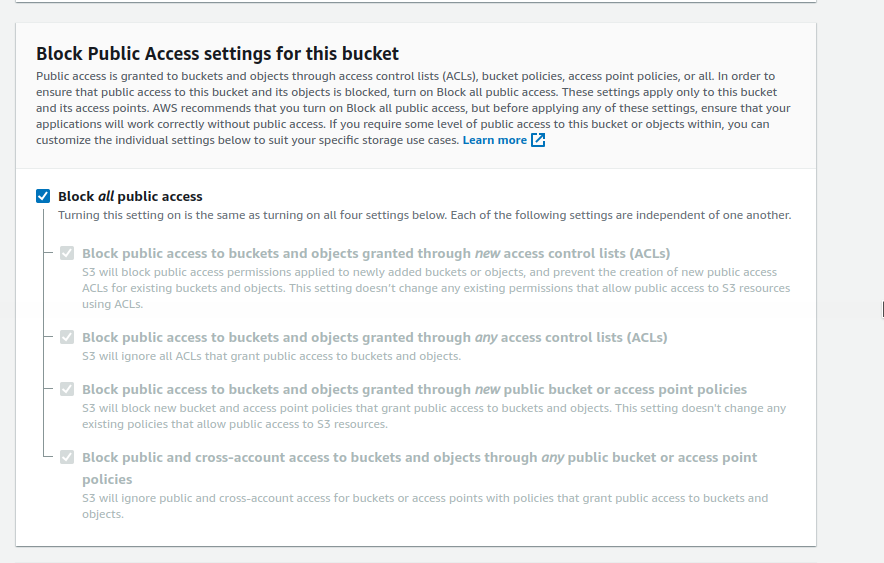
Ensure you have blocked all public access
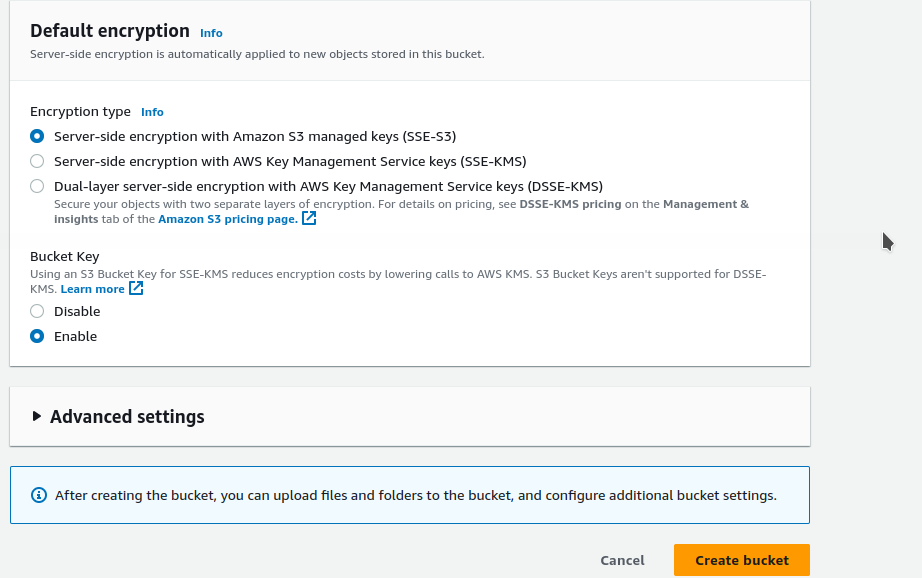
Create Bucket

Enter the bucket --> Properties --> scroll down --> Static website hosting


click on EDIT ---> Enable --> specify your index.html file in the index document column

Click save changes
2) CODE PIPELINE
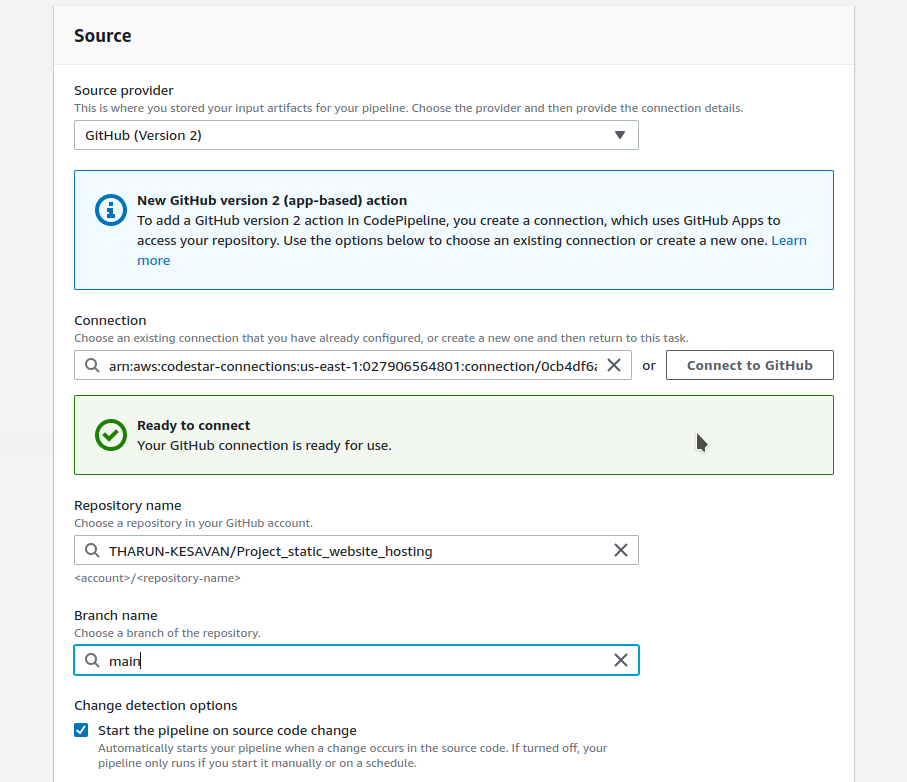
Code Pipeline creation


Code PIpeline name
 >
> Source stage

We are skipping the build stage, as we dont have anything to build.

Deploy stage
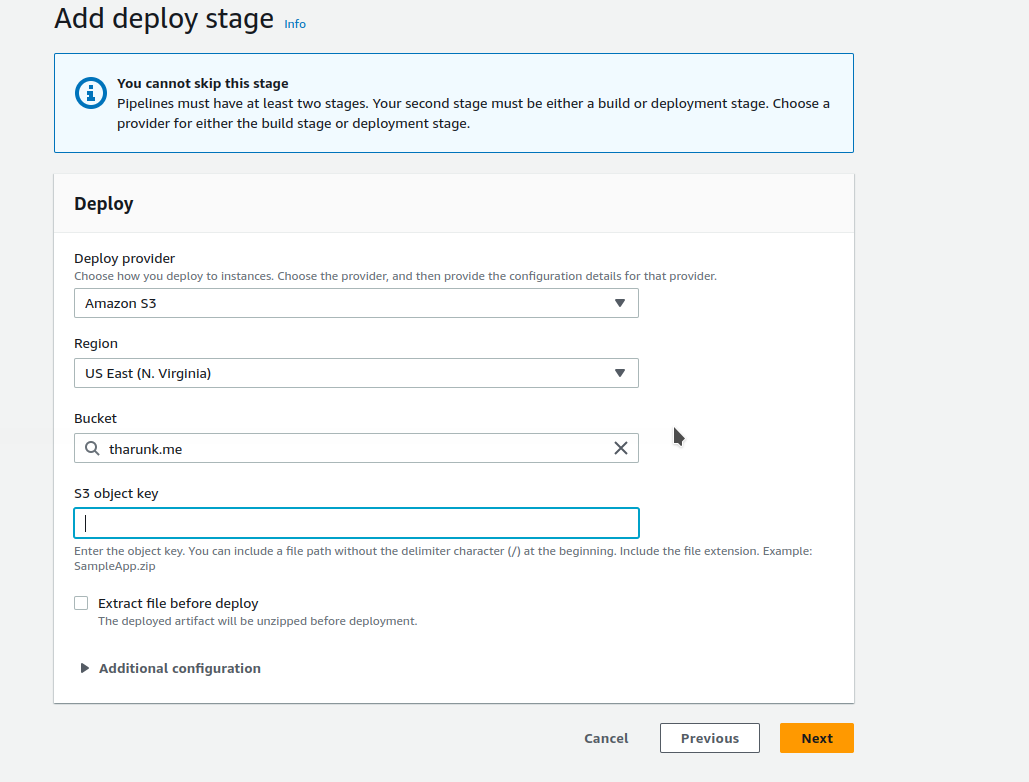
Review

CodePipeline will start executing automaticaly and it will deploy our code in S3 bucket . check the s3 bucket

3) Architecture Diagram
CloudFront is a global content delivery network (CDN) offered by Amazon Web Services (AWS). It provides a highly scalable and distributed infrastructure for delivering content, including static and dynamic web pages, videos, images, and application data, with low latency and high transfer speeds.
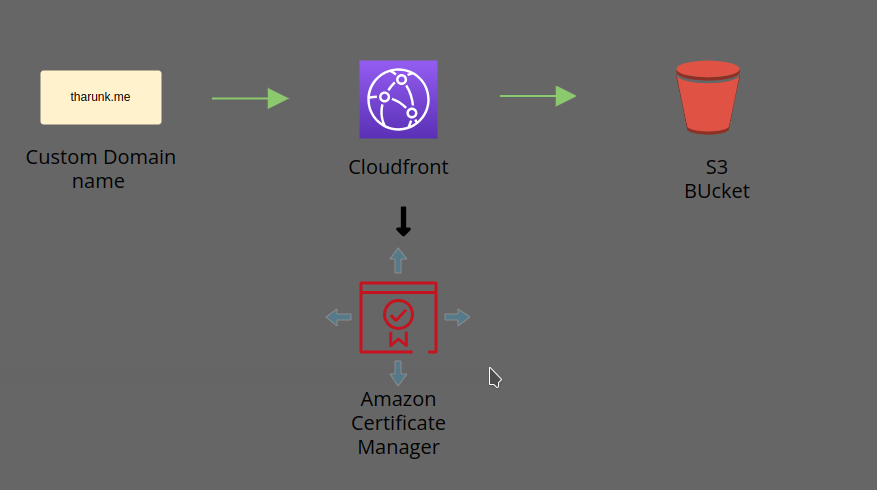
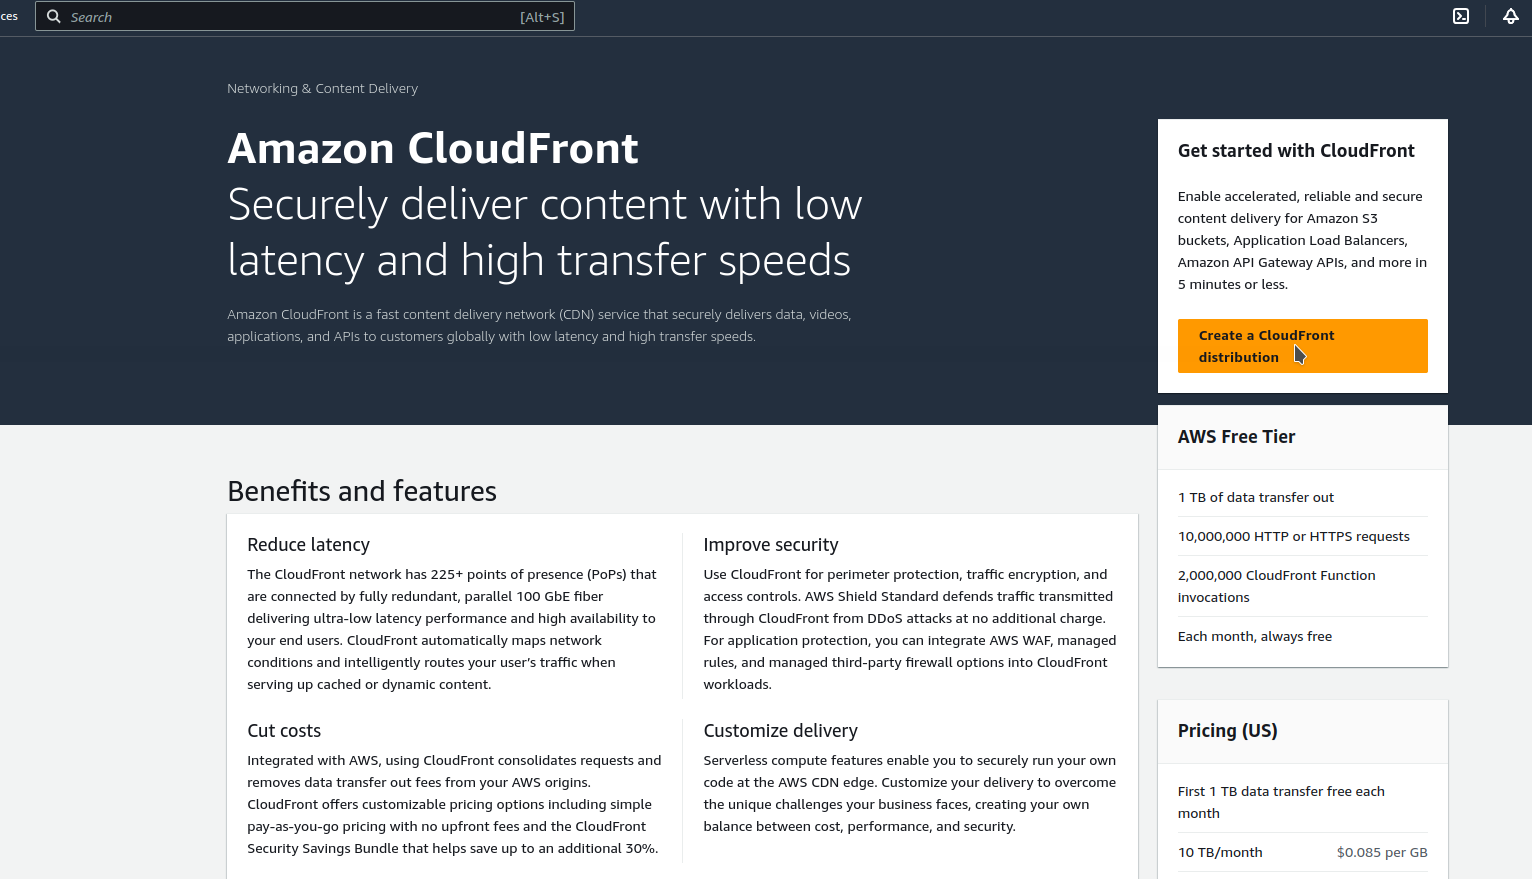
CloudFront
Configuring CloudFront settings :
  1) choose origin as Amazon S3

Make orgin access as Legacy access identities(0AI)
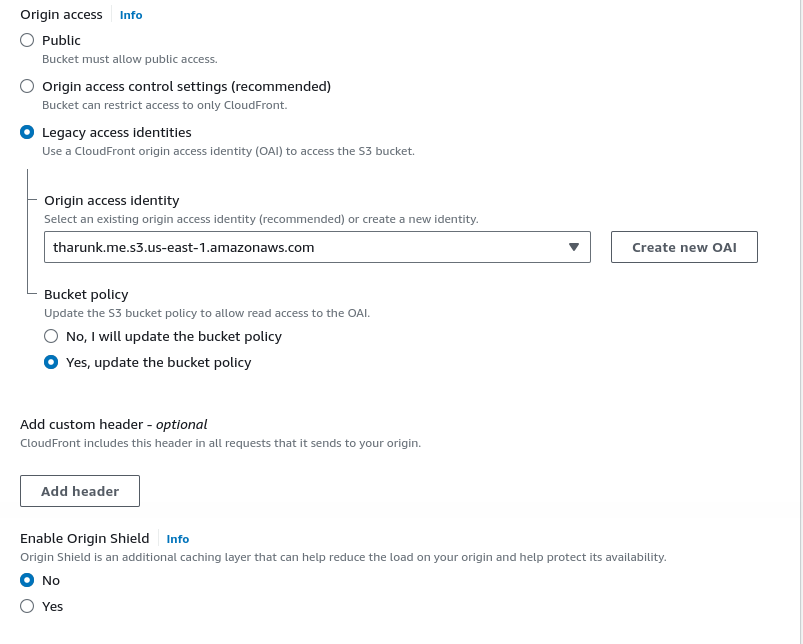
click on create new OAI

Select
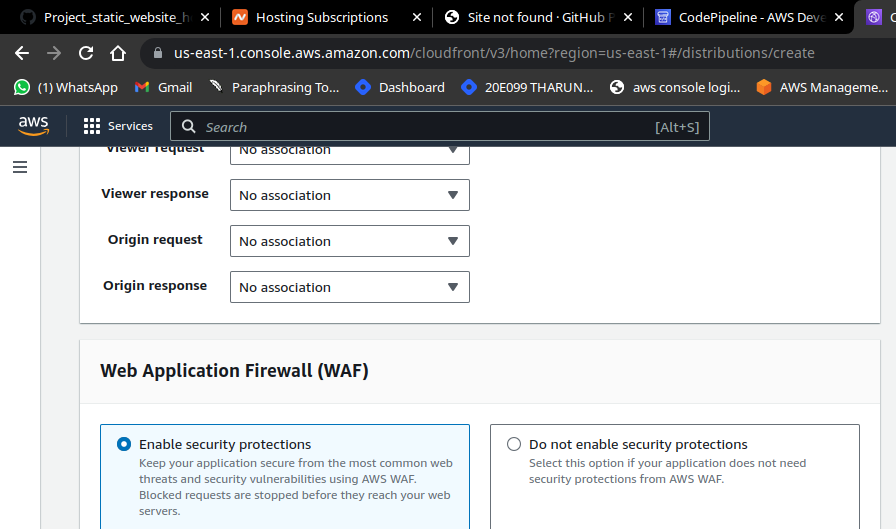
1) enable security protection in WAF
Select
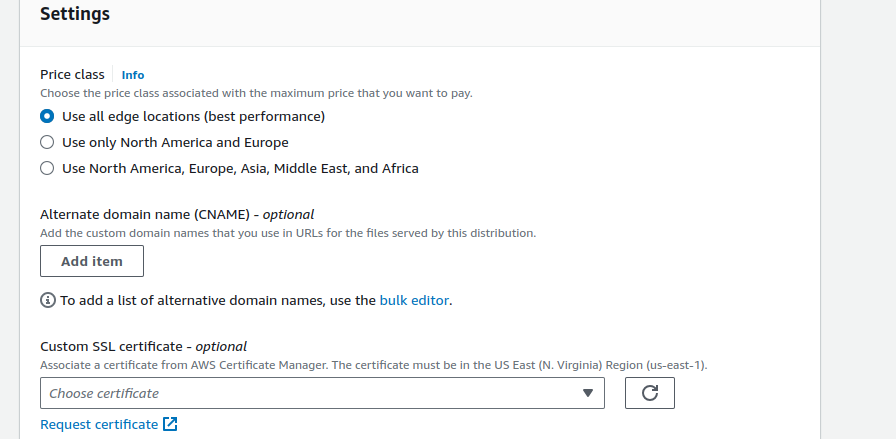
1) use all edge locations for better performance
Now we have to create a ssl certificate for our custom domain
1) click Request certificate
It will redirect to ACM(AMAZON CERTIFICATION MANAGER)
ACM (AWS Certificate Manager) is a service provided by Amazon Web Services (AWS) that simplifies the process of provisioning, managing, and deploying SSL/TLS certificates for your applications and websites. ACM provides free SSL/TLS certificates that are trusted by most modern web browsers and can be used with AWS services and resources.
1)  Click on the "Request a certificate" button

In the ACM certificate request wizard, you have two options:
   Request a public certificate
   Request a private certificate

2) Select Request a public certificate

3) specify the domain name

4) choose a validation method
    DNS RECORD
5) REVIEW IT AND CLICK ON "Confirm and request" button

It will take some time to create a request ,before that we have to validate
our domain name .

I purchased the domain name from namecheap for free
   1) Using github education student pack
   2) If you are student kindly checkout github education student pack
   3) It's very useful

Goto Namecheap.com
   Click manage near your domain name
   click Advanced Dns option
   Add new record
     1) Specify type as CCNA
     2) For Host and Target value
         Goto cloudfront
           1) click on  Certificate id link
           2) Scroll down

 1) Select the CNAME name
      1) copy entirely except the .yourdomain.
      2) Paste in namecheap Host value
 2) Copy the entire cname Value and paste in namecheap record value box

Wait for sometime it will take around 15 to 20 min
 Once issued Go back to cloudfront

click refresh button on custom ssl certificate
Select the ssl certificate and leave everything default
Now click on save

That's it. we have made it .copy the Domain name in cloudfront and paste in browser

Your static webpage is accesible now ,you can notice the lock symbol in your browser which means the https is working .

Succesfuly we have hosted our static website using s3 and cloudFront.
THARUN K

